Are you looking for a way to keep the visitors to your website interested and engaged? Well, using push notifications is a great method to achieve that, and it can be quite beneficial in terms of traffic. Of course, just like any other strategy in digital marketing, the use of push notifications has to be planned out carefully. Still, if done correctly, it will entice users to interact with your website more, make the site more recognizable and get you exactly the kind of people you want – the ones that convert the most.
If you don’t have them yet, learn how to add push notifications to your WP site in the rest of this article.
What do you need?
As is the case with most features you can enhance your WP website with, push notifications can be added if through a simple plugin. There are actually quite a few of these out there, so find the one that suits you best. Not all plugins support all browsers or mobile devices, for example, so take a look at the numbers of your website to see where your visitors are coming from and then make your choice.
The good news about push notifications plugins is that they pretty much always come with a free version that you can use to see if they meet your needs and then effortlessly switch to the premium version if everything checks out. Or maybe you’re satisfied with the free version and just stick to that. So, you may not need to invest much at all, but the gains could be big. Here are a few examples you definitely should consider.
OneSignal
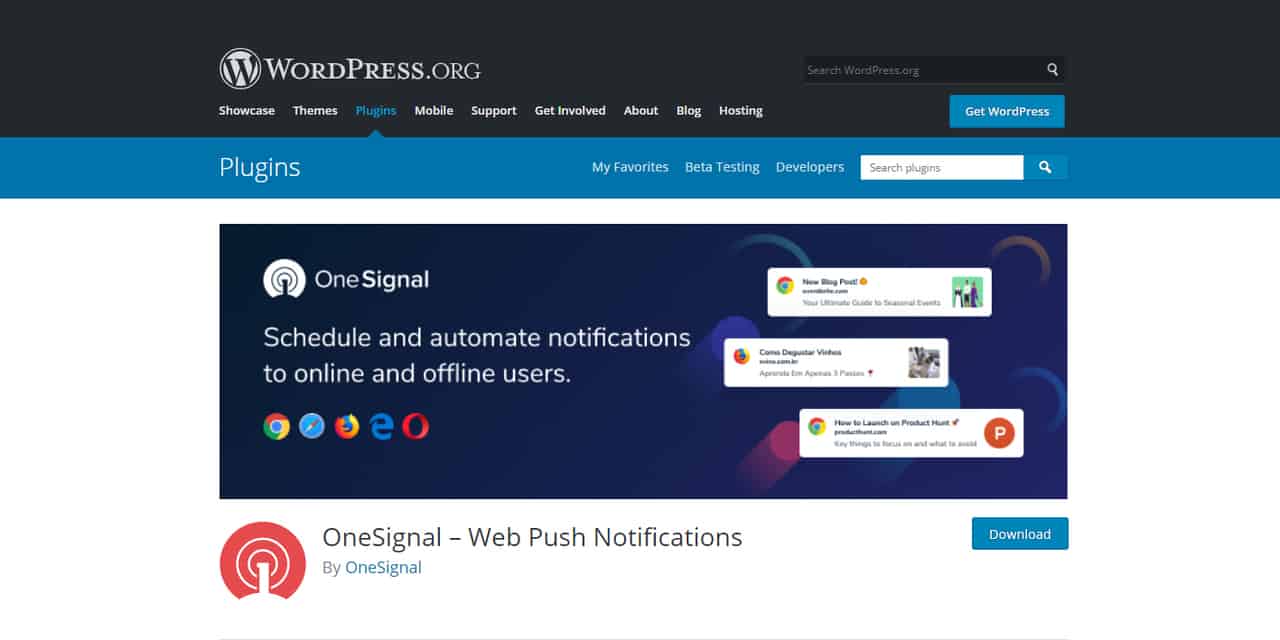
 Hands down the most popular, if not THE most popular plugin for push notifications in the world currently. This is because it offers an impressive array of features, including numerous customization options, the possibility to see how your messages are converting, reminders, message scheduling, and so much more. And it’s all FREE! Sure, there is a premium version too, which starts from about 40$ a month, but the free package should be more than enough for most users. Literally tens of thousands of people have this plugin installed, so you can be certain that you will get yourself a quality product.
SendPulse
 SendPulse is a good alternative to OneSignal because it also provides a whole lot of features and customization options in its free package, which extends to 2,500 subscribers. Of course, there is a premium version too, but it costs less than 20$ a month, which is quite a significant advantage compared to OneSignal. You can automatize and personalize your messages, and generally speaking, this is a very solid plugin.
PushAssist
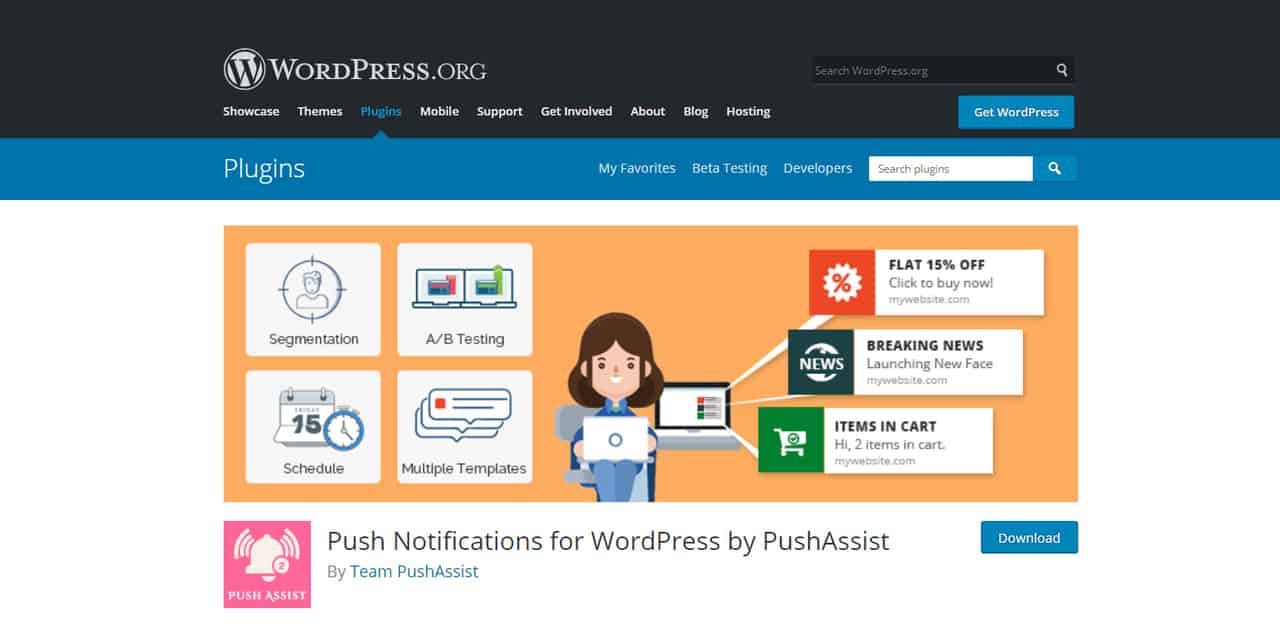
 Another very interesting plugin for push notifications, PushAssist can help you schedule campaigns, track your users in real-time, add your logo to the messages, and do a whole bunch of other neat stuff. What’s perhaps even more important given the title of this article, you can install it very easily onto your WP website and start using it in just a couple of minutes.
How does the installation work?
As a general rule, you will be required to create an account on the plugin’s website. Once you do that, you will be able to connect that account to your website or app via some sort of ID. You are essentially interlocking the plugin (i.e., the account you’ve opened) with your website, and it’s all a matter of copying and pasting, really. Naturally, good plugins, like the three mentioned above, will come with detailed instructions, so you will be up and running in no time at all. But just to clear things up, here’s how, for example, setting up SendPulse works.
So you’ve installed and activated the plugin and created your new account on the plugin’s website. Go to that account – you need the integration code that account gives you to paste it into the appropriate field, which is found under Settings-Sendpulse webpush tab in your WP interface. Next, go back to the SendPulse website and add your website to the account. This will create the aforementioned code, which you then copy and paste. Not that hard, is it?
Most of these types of plugins are activated in very similar ways, although, for example, with OnePush, you may need to repeat the process for different internet browsers.
Just remember that in all these cases, you are aiming for “web(site) push” and not anything else. Your target SDK is WordPress, of course.
Also, it is highly recommended that your site is an HTTPS site, but if it’s not, OnePush can set things up for that, as well. Once you’re done, the plugin will either tick all the boxes necessary for it to run smoothly, thus notifying you that you’re good to go, or you can simply try subscribing yourself to make sure everything works properly.
Conclusion
Push notifications can do a whole lot of good for your WordPress website and are growing increasingly important when it comes to creating digital marketing strategies. Simply, if you want to maintain contact with the people whose visit has the most value for you, they are the perfect tool. And it all boils down to choosing the right plugin (of which there are many) and installing it.
You really don’t have to be a programming genius to set things up because all you need is an account on the plugin’s website. After that, it’s only a matter of connecting that with your own site through some good old copy-paste, and you’re good to go. Besides, you can always expect detailed instructions from every plugin since, after all, it is in the plugin’s creator’s best interest to make everything as easy for you as possible. There is really no reason to have any second thoughts about installing one of these if you want to reach out to your audience – even if you’re a complete beginner, you’ll have the whole thing operational in a matter of minutes.

Comments are closed.