WP Links is a premium WordPress plugin developed to help you manage all external and internal links on your WordPress site. This plugin works with all WordPress themes and plugins.
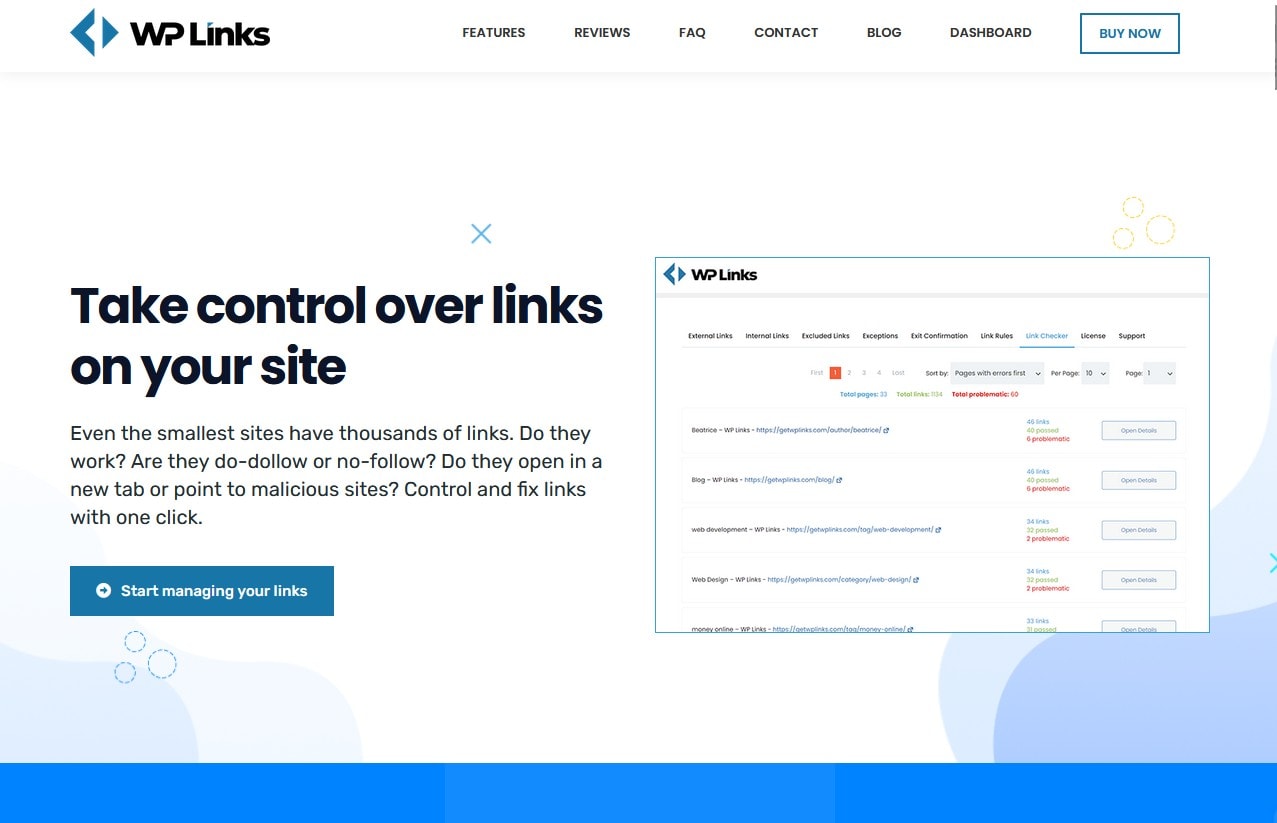
WP Links plugin will help you detect and repair broken links. Using this plugin, you will be sure that links on your site won’t lead users to potentially malicious sites.
Below is a detailed explanation of how to use all the excellent features of the WP Links plugin.
How to control links using the WP Links plugin
External and Internal link options
WP Links allows you to control all links on your site fully. You will be able to control your External and Internal links completely. Select different settings for any of them and apply them on your site.
External links
Opening the first tab, “External links”, setting options will appear below it. Let’s check them all. After reading this, you will know which options you can use to control your WordPress site external links using the WP Links plugin.
When you select the “Apply these settings” box, you can continue choosing the options you need. After you make changes and save them, the WP Links plugin will follow your preferences.

Settings you can choose:
-
Open external links option offers four options you can choose from:
– Open links in the same window/tab/frame
– Open every external link on your site in a new window/tab/frame
– Open all external links in the same window (each click on a new link will load over the previous page. Note that the first link will open in a new window, but others will load over the first one)
– External links will be open in the topmost frame available on the page
-
Choose and add to rel attribute
Options:
– “noopener” – keeps your site safe from potentially malicious sites
– “noreferrer” – linked site won’t get refer information from your site
– “external” – mark a link as an external one, to be precise: not as a part of your site, but as a linked one
– “sponsored” – this rel attribute will allow you to mark all sponsored links on your site. You will know which links are paid to appear on your site
– “add ugc” – marks links that are created by users on your site
-
Option to set follow or nofollow for all links that aren’t linked to your site
-
Set title
-
Add specific CSS classes to external links in this section, if you need it
-
To choose the wonted icon type that will display next to the external link, upload an image, choose a WordPress icon from Dashicon or one from Fontawesome.
-
Icon position can be set right or left
-
To skip automatically adding icons to images use ‹img›
Internal links
Internal links have these options in “Settings for internal links” (note that some are the same as for external links, but we will repeat them).
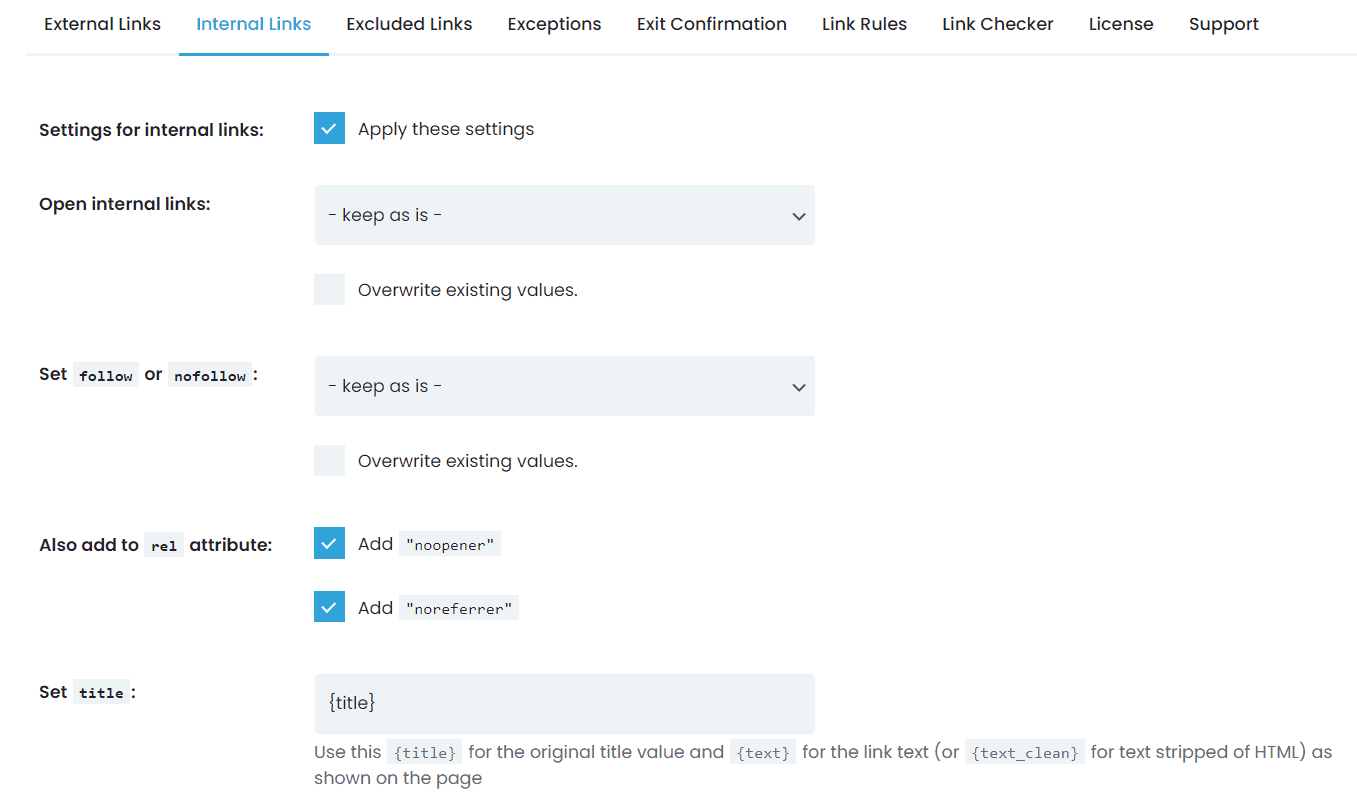
Settings you can choose and save using “Apply these settings”:
-
Open internal links option offers four options you can choose from:
– Open links in the same window/tab/frame
– Open every internal link on your site in a new window/tab/frame
– Open all internal links in the same window (each click on a new link will load over the previous page. Note that the first link will open in a new window, but others will load over the first one)
– Internal links will be open in the topmost frame available on the page
So, this first section is the same as for Externals links.
-
Add to rel attribute setting for Internal links has two options (for external links you can choose five)
Options:
– “noopener” – keeps your site safe from potentially malicious code
– “noreferrer” – linked site won’t get refer information from your site
-
Option to set follow or nofollow for internal links that aren’t linked to your site
-
Set title
-
Add specific CSS classes to internal links in this section, if you need it
-
To choose the wonted icon type that will display next to the internal link, upload an image, choose a WordPress icon from Dashicon or one from Fontawesome. (This option is the same as previously explained for External links)
-
Icon position can be set right or left
-
To skip automatically adding icons to images use ‹img›
How to use Exceptions in WP Links plugin
We have just shown you how to use External and Internal links and the options you have when setting them. Now let us show all Exceptions you can set by using WP Links plugin.
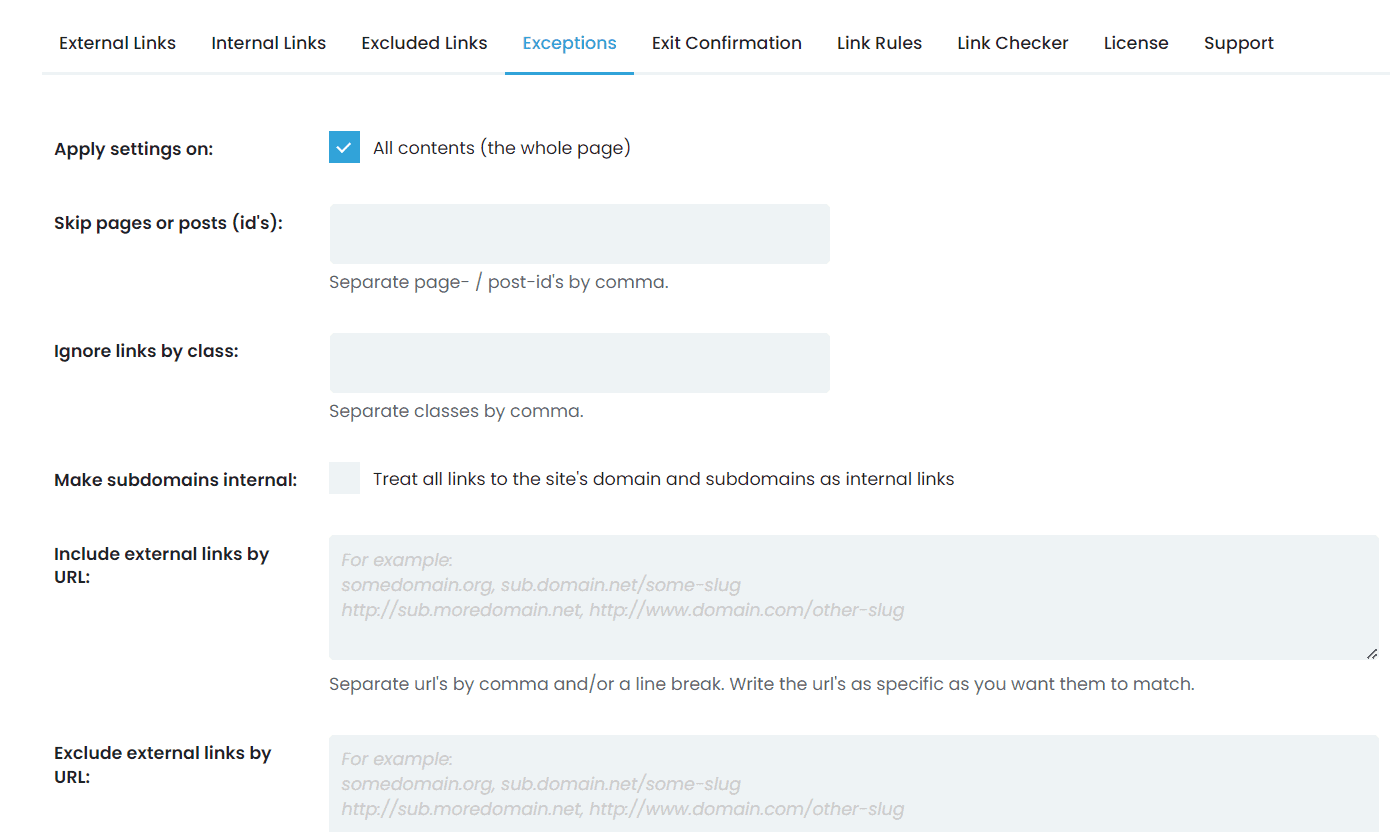
All options available for your links are open to exceptions. Exceptions can be applied to the whole page and content of your site. To set and control exceptions, you need to open the tab “Exceptions” and choose form offered options:
– Skip pages or posts – enter page URLs, and if you have more than one, separate them by comma
– Option to skip one or multiple links by class is also available. Again, entering more than one link, make sure to separate them by a comma.
– If you previously set to “exclude” all external links, here you will find the option to “Include external links by URL”. Just enter as many links as you need. And this option is open to more than one exception link (again, separate them by comma). Whole lists of URLs can be entered and treated as exceptions.
– Excellent option is the possibility to open an extra tab and have your “Own setting for excluded links” options open. Make settings you prefer to have in Exceptions.
– You can set the option to treat all Excluded links as internal ones, another useful option that is great to have on your WordPress site.
Why is having the option to set Exit Confirmation in WP Links an excellent one?
The great option to use, one that your site users will appreciate, is the notification for the 3rd party link. Set up the “Exit Confirmation” tab using WP Links, and a popup window will be displayed when the user clicks on the 3rd party link on your site.
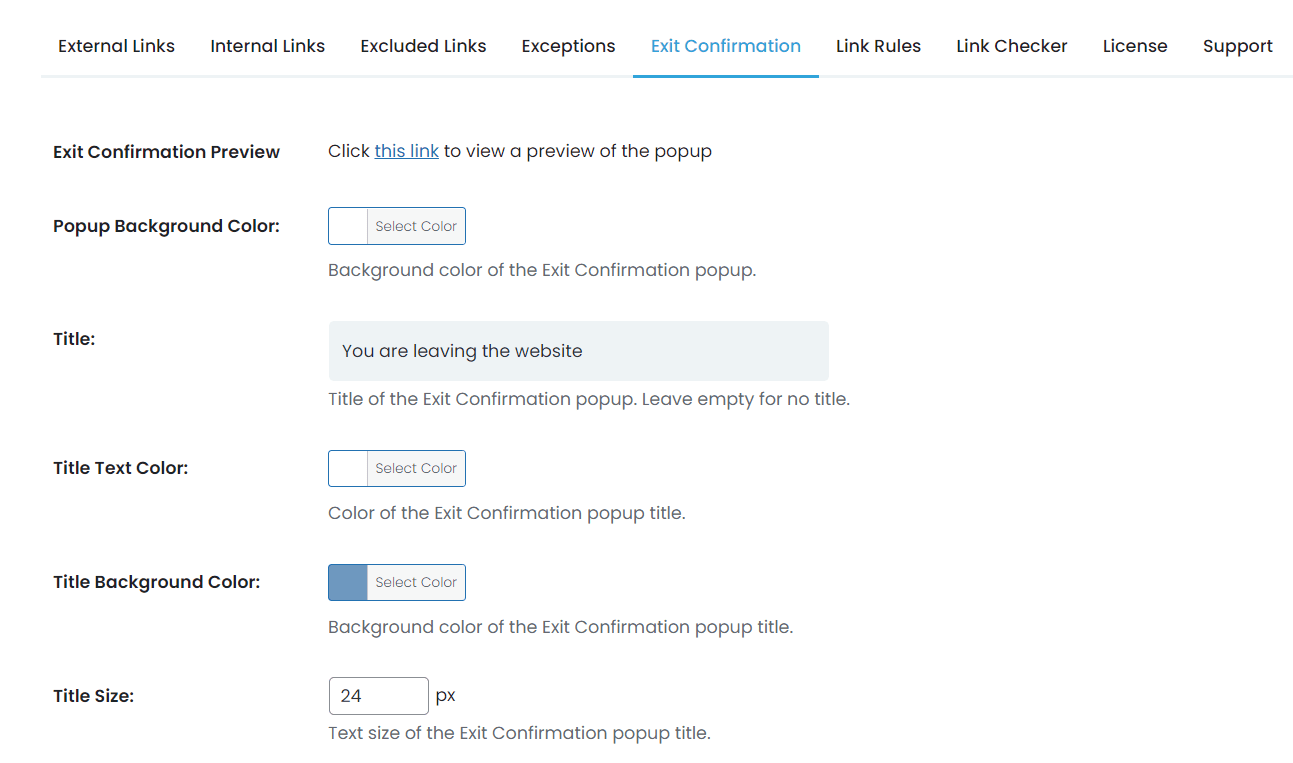
To set it up, go to the “Exit Confirmation” tab, and all available options will open.
Exit Confirmation popup message is fully customizable. You can choose the style that will blend in into your site design. You will notice that “Exit Confirmation Preview “ is available, so you can see how your popup will look after you set its layout. Customizable options are available for popup background color. The title can be defined or left blank. Choose text color, background color, and title size for your title.
After setting your preferences, enter the text you would like to appear in your popup message. And you are set to use this option of the WP Links plugin.
How to use Link Rules in WP Links plugin?
WP Links plugin allows you to set rules and use them to have even more control over links on your WordPress site. With Link Rules, you will control the link property.
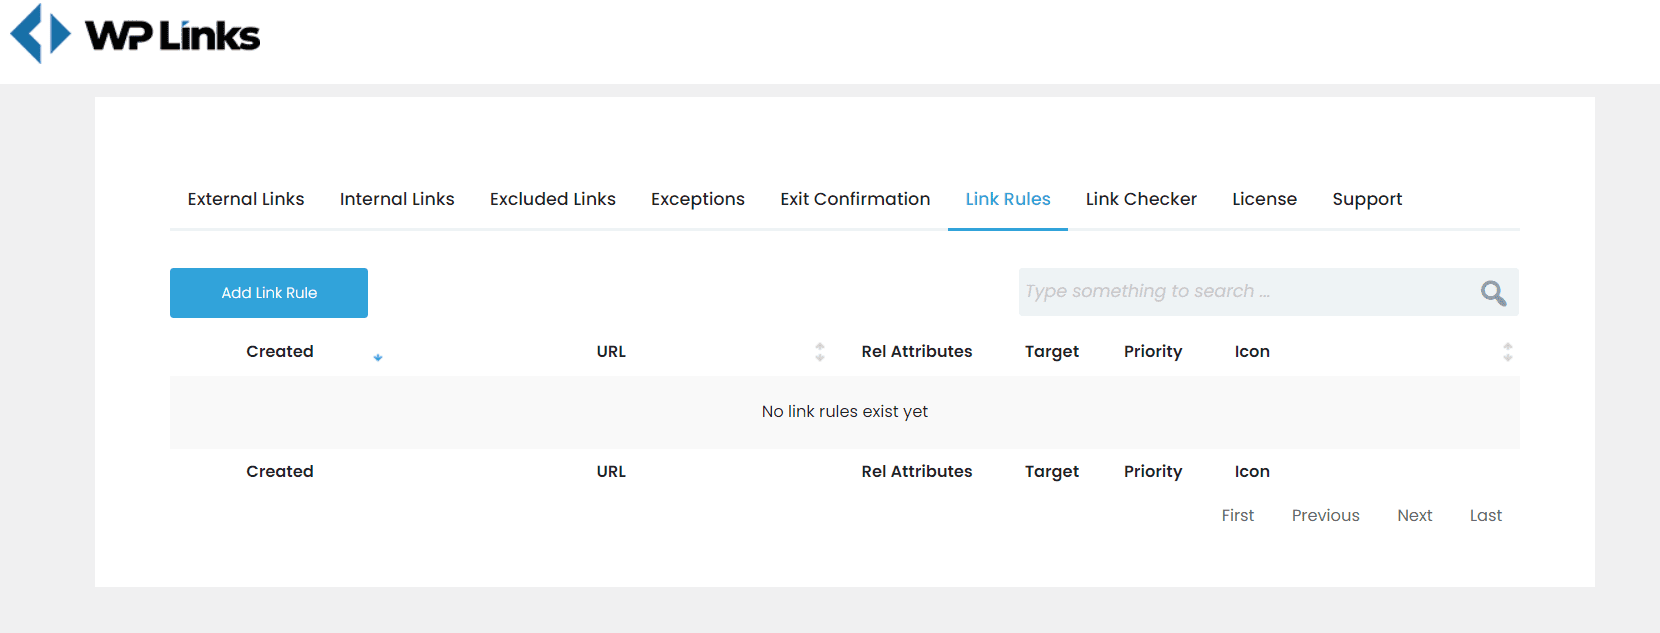
To set a rule, you will use a keyword from the link. Rules are set in a way that every time a link containing a keyword is detected, that link will be “recognized” by WP Links Link Rules. Using keywords, you can set a rule that certain links will be a dofollow or nofollow one.
There is a nice option to have an icon appear by the link with a keyword. Let’s say that you choose “apple” as your keyword. URL that contains a selected keyword will be recognized (let’s say www.bestapples.com), and an icon that you select will appear automatically next to it.
Importance of using Link Checker
Having an active WordPress website, you will have many links on it. Over time number of links on your site will increase, and it will be impossible to check them manually.
You can scan your entire site using WP Links Link Checker with a one-click option. All existing links on your WordPress site will be checked instantly.
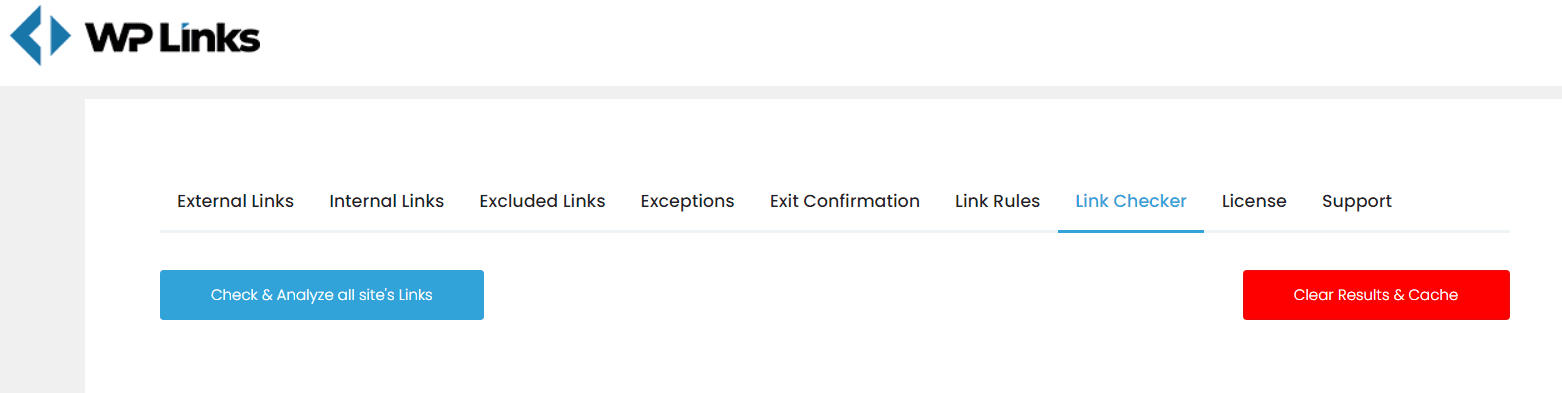
Once the scanning is completed, Link Checker will provide you with a list of all problematic links. This list will include links showing 404 errors, wrongly redirected links, or links that lead to potentially malicious websites.
The feature that distinguishes WP Links Checker from similar scanners is its option to repair broken links with ease. You will automatically see invalid links on your site or in posts, and you can directly edit them there. Using this feature, editing links is going to be very easy. The scan process is going to be completed in a couple of minutes, and it won’t slow down your site.
White Label mode and Rebranding of WP Links plugin
A feature that users of this plugin will love is the ability to rebrand it and use it as their own.
On the “Licenses” page, you can add a new license or Edit an existing one. After you set all features (turn on white-labeling), you need to save changes.
Then in the “Add New Brand” section, enter new data:
– Plugin Name (Choose the name of the plugin; up to 40 characters).
– Plugin Short Name (for top results, use the short name with up to 10 characters)
– Plugin Site URL
– Company Name (name of your company)
– Company Site URL (your company’s website URL)
When rebranding WP Links plugin you can add your logo, colors of your choice, and content that you need. Save changes, and that is it.
WP Links Customer Support
WP Links offers proactive support, which is a fast and friendly one. Using the WP Links plugin, you will have support from agents and developers who worked on the WP Links plugin.
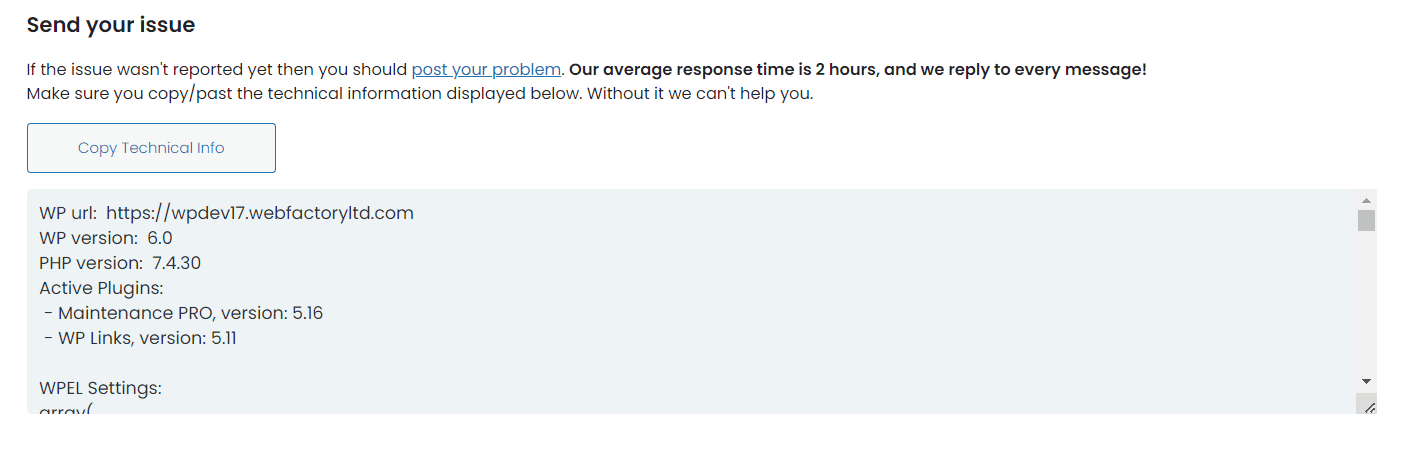
If you can’t find an answer in the FAQ section, contact support directly, and they will promptly help you solve all issues you have with this plugin.
Conclusion
Use this great plugin! WP Links plugin will help you to have a site with links that work. Set rules you need for all of your external and internal links and improve your site SEO.