Whether you’re a small business owner looking to guide customers straight to your doorstep, or a traveler wanting to mark secret spots on your adventures, adding custom locations to Google Maps is a game-changer. It’s easier than you think and can be really fun!
TL;DR (Too Long, Didn’t Read)
Adding custom locations to Google Maps helps you mark favorite places or guide others with ease. It’s perfect for everything from business addresses to personal travel spots. Use Google Maps’ Your Places feature or create a custom map with My Maps. It’s fast, free, and your map stays synced with your Google account.
Why Add Custom Locations?
There are a ton of good reasons to create custom pins on your map. Here’s why it’s useful:
- Business owners: Help customers find you faster with accurate map placement.
- Event planners: Create essential location guides for weddings or conferences.
- Travelers: Mark cool food spots, views, or your hotel for easy navigation.
- Teachers or Tour Guides: Build educational route maps or tour plans.
Sounds helpful, right? It’s like building your own mini GPS!
The Smartest Two Ways to Add Custom Locations
There are two main ways to add custom spots to Google Maps:
- Using “Your Places” – For simple, private pinning or labeling spots.
- Using Google My Maps – For creating interactive, shareable custom maps.
Let’s break both down with easy steps!
1. Add Custom Locations Using “Your Places”
This is perfect if you quickly want to pin something. It’s also good for marking personal spots like a meetup location or your favorite burger joint.
Step-by-Step Guide:
- Open Google Maps on your phone or computer.
- Search for a place, or just click on any point on the map (even empty areas).
- A box will appear with address details — click “Save”.
- Choose a list: Favorites, Want to go, Starred places or create your own list.
- That’s it! The place is now saved under “Your Places.”
To access saved places later, click the menu in Maps and select Your Places → Saved.
This method is private to your account unless you choose to share the location manually.
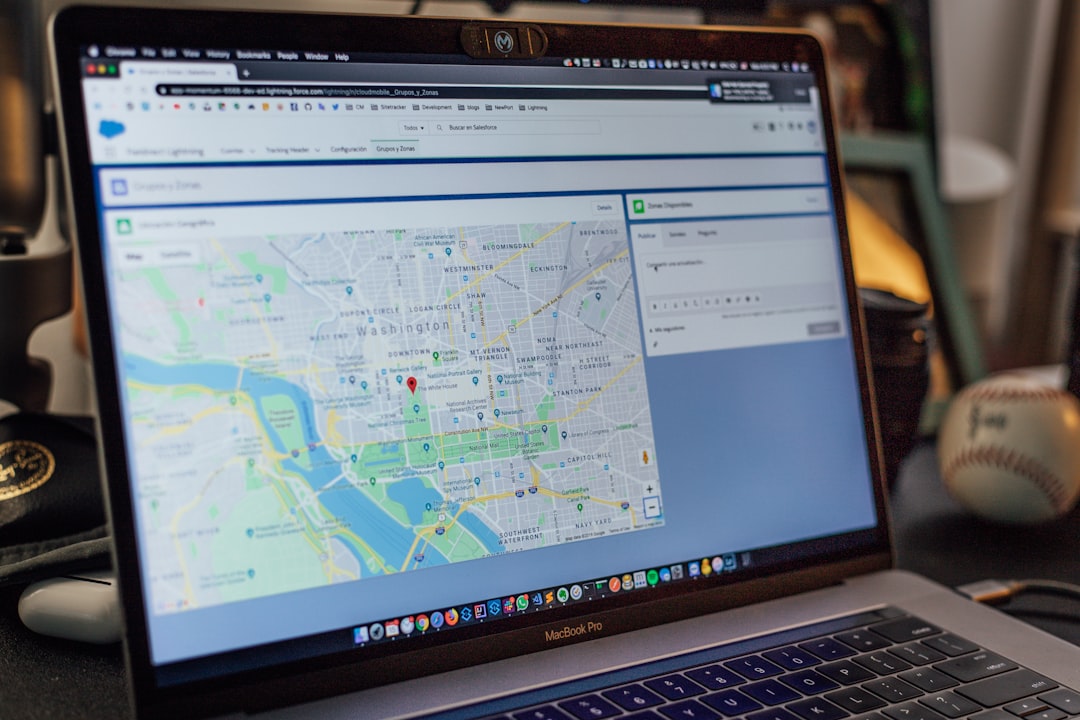
2. Use Google My Maps for Power Features
If you’re planning an event, organizing a road trip, or linking multiple destinations, Google My Maps gives you full control.
You can:
- Add multiple custom spots and label each one.
- Include directions, layers, and even add custom icons or colors.
- Share the map with a team, students, or event guests.
Step-by-Step Guide to Using My Maps:
- Go to Google My Maps.
- Click “Create a New Map.”
- Use the search bar to find a place, or zoom in and click anywhere to drop a pin.
- Click “Add to Map.”
- Rename the location, add descriptions, change pin icons, or add photos.
- Use layers to group places (great if you want to separate cafes, hotels, and hikes).
- Share the map with others or embed it in a website.
My Maps is your personal mapping playground. Whether you’re building a neighborhood map for real estate clients or putting together a pub crawl, it’s super versatile!

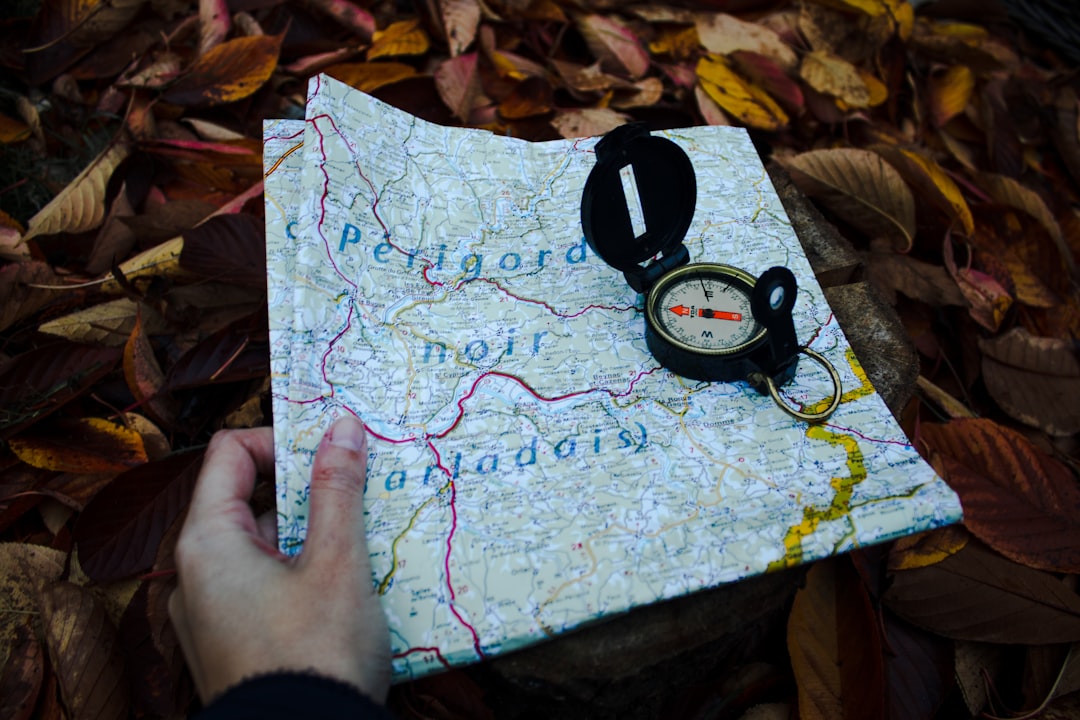
Bonus: Label Places Without an Address
Sometimes you want to mark a cool spot that doesn’t have an official address — like a treehouse in the woods!
To do that:
- Right-click (or long-tap) any place on Google Maps.
- Select “Add a Label”.
- Type your custom name like “Secret Spot” or “Best Sunset View.”
This label is private to you and will show up whenever you’re signed in to your account.
How to Share Your Custom Map
Once you’ve spent time crafting a cool custom map, you’ll probably want to share it!
With Google My Maps, just:
- Open your map and click “Share” in the top bar.
- Choose whether it’s public, private, or shared only via link.
- You can also embed maps directly to your website — great for businesses!
For saved places in “Your Places”, you can simply copy the location link or use the “Share” option from the location box.
Tips to Make Your Custom Map Awesome
Want your custom map to not only function well but also impress? Here’s how to shine:
- Color code your pins using red for danger zones, green for go-to spots, etc.
- Upload photos to each custom location for visual appeal.
- Add walking/biking/driving directions if relevant.
- Test your map by clicking or tapping each element to ensure everything works smoothly.
Mobile Magic: Add & View on the Go
You can access and edit your maps right from your phone!
To do this:
- Install the Google My Maps app (Android only) or access it via your mobile browser.
- Use the regular Google Maps app to view saved locations in “Your Places.”
So if you’re on a hike, or just found a great food truck, you can drop a pin in just seconds.
Using Custom Maps for Business
If you’re a small biz or even a freelancer, marking your location can bring in more customers.
Here’s what to do:
- Register for Google Business Profile — this puts your business on the main map view for everyone.
- Use My Maps to show service delivery zones, partner locations, or new store openings.
- Add the map to your website or social media for easy access.
It gives customers a visual, and that builds trust.
Final Thoughts
Adding custom locations to Google Maps isn’t just for tech experts. It’s for anyone who loves being a little organized — or just wants to help others find their way better.
So go ahead — plan that dream trip, mark your grandma’s cabin, or make a customer map masterpiece. Your future self (or clients) will thank you!
Happy mapping!