Few things are more frustrating than trying to open a file, install an app, or move a folder in Windows—only to be greeted by the vague message: “Operation did not complete successfully.” Whether it appears during a software installation, file transfer, or system update, this error can feel like a dead end. The good news? In most cases, it’s triggered by a handful of common issues that are surprisingly easy to fix.
TLDR: The “Operation did not complete successfully” error on Windows is usually caused by antivirus interference, corrupted system files, or permission conflicts. You can often fix it by temporarily disabling your antivirus, running built-in Windows repair tools like SFC and DISM, or adjusting file and folder permissions. These fixes require no technical expertise and can be completed in minutes. Follow the steps below to get your system back on track.
Why This Error Happens
The generic nature of this message makes it confusing. Windows may show it when:
- You’re installing or uninstalling software
- Downloading files using a browser
- Accessing protected folders
- Running executable files
- Applying Windows updates
Behind the scenes, the causes usually fall into three categories:
- Security software blocking legitimate files
- Corrupted or missing system files
- Insufficient permissions or account restrictions
Let’s walk through three easy fixes that address these root causes.
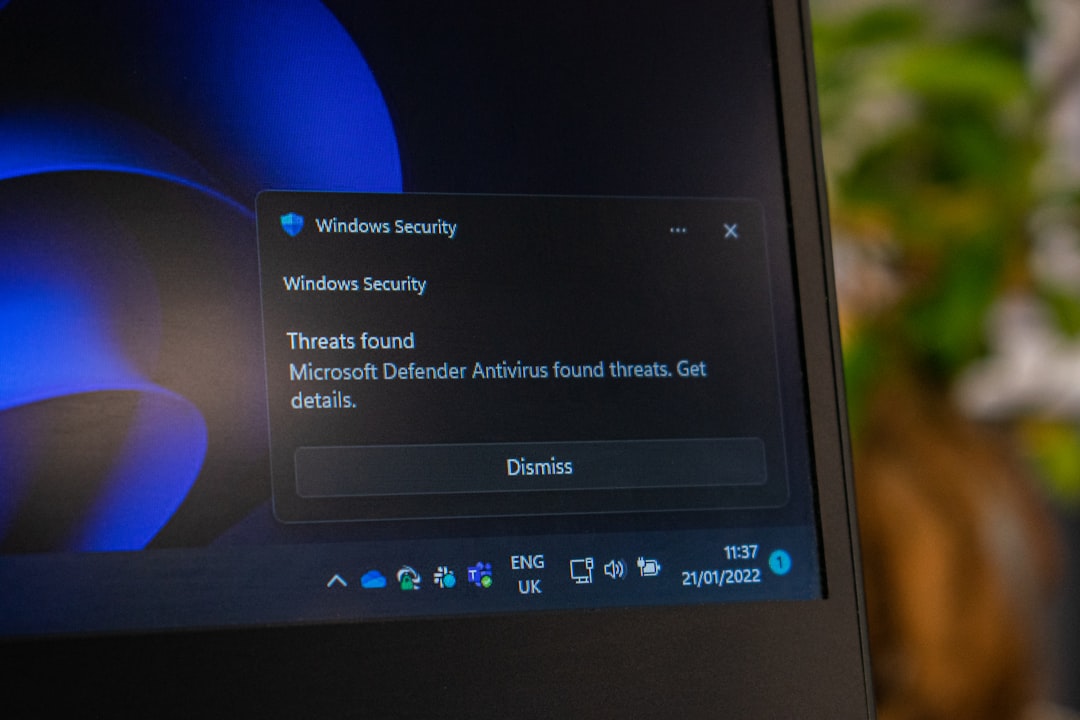
Fix #1: Temporarily Disable Antivirus or Security Software
In many cases, your antivirus program is simply being overprotective. Windows Defender or third-party antivirus tools may incorrectly flag safe files as threats, blocking installations or preventing downloads from completing.
This typically happens when:
- Installing lesser-known applications
- Running newly downloaded executable files
- Extracting compressed archives
- Accessing system-level folders
How to Temporarily Disable Windows Security
- Press Windows + I to open Settings.
- Go to Privacy & Security.
- Select Windows Security.
- Click Virus & threat protection.
- Choose Manage settings.
- Toggle off Real-time protection.
After disabling protection, try performing the action again. If it works, you’ve identified the cause.
Important Tips
- Only disable protection temporarily.
- Re-enable security once you’ve completed the task.
- Add the file or folder to your antivirus exclusion list to prevent future blocks.
If you’re using third-party antivirus software (such as Norton, McAfee, or Bitdefender), check its dashboard for a temporary disable option. The exact steps vary, but most programs allow you to turn protection off for 10–30 minutes.
Why this works: Security tools sometimes misinterpret system activity. By temporarily disabling them, you remove that filtering layer and allow the process to complete normally.
Fix #2: Run System File Checker (SFC) and DISM
If disabling antivirus doesn’t solve the issue, corrupted system files may be to blame. Windows relies on thousands of core system files to execute tasks correctly. If even a few of these become damaged, errors can appear unexpectedly.
Thankfully, Windows includes built-in repair tools:
- SFC (System File Checker)
- DISM (Deployment Image Servicing and Management)
These utilities scan for damage and automatically repair corrupted files.
Step 1: Run SFC
- Click the Start menu and type cmd.
- Right-click Command Prompt and choose Run as administrator.
- Type the following command:
sfc /scannow - Press Enter and wait for the scan to complete.
The scan may take 10–20 minutes. If it finds issues, it will automatically replace corrupted files.
Step 2: Run DISM (If Needed)
If SFC reports that it couldn’t fix everything, run this command:
DISM /Online /Cleanup-Image /RestoreHealth
This process connects to Windows Update servers to retrieve fresh system files.
Why This Fix Is Powerful
Unlike quick tweaks, SFC and DISM address the core integrity of your operating system. They:
- Repair damaged Windows components
- Restore missing system files
- Fix update-related corruption
- Resolve underlying instability
If the “Operation did not complete successfully” error appears across multiple applications—not just one—this fix is especially effective.
Fix #3: Adjust File or Folder Permissions
Windows is strict about access control. If your user account lacks permission to modify or execute certain files, the system may stop the operation before it begins.
This is common when:
- Accessing files transferred from another PC
- Working inside system directories like Program Files
- Running .exe files downloaded from the internet
- Using a standard (non-admin) account
How to Change Permissions
- Right-click the file or folder.
- Select Properties.
- Go to the Security tab.
- Click Edit.
- Select your username.
- Check Full Control.
- Click Apply and OK.
Alternative: Run as Administrator
If you’re launching an application, try:
- Right-clicking the file
- Selecting Run as administrator
This grants elevated privileges that bypass standard restrictions.
Check Your Account Type
To confirm you’re using an administrator account:
- Open Settings.
- Go to Accounts.
- Select Your info.
- Look beneath your name to see if it says Administrator.
If not, you may need admin credentials to complete certain tasks.
Quick Comparison: Which Fix Should You Try First?
| Fix | Best For | Difficulty | Time Required | Risk Level |
|---|---|---|---|---|
| Disable Antivirus | Install or download issues | Easy | 2–5 minutes | Low (temporary risk) |
| Run SFC and DISM | System-wide errors | Moderate | 15–30 minutes | Very Low |
| Adjust Permissions | Access denied issues | Easy | 5–10 minutes | Very Low |
If you’re unsure where to start, begin with Fix #1. It’s quick and often solves installation-related problems immediately. If the issue persists across multiple areas of Windows, move to Fix #2.
Bonus Tips If the Error Persists
If none of the above solutions work, consider these additional troubleshooting steps:
- Perform a clean boot to eliminate software conflicts.
- Create a new user account to test profile-related corruption.
- Check Windows Updates for pending fixes.
- Scan for malware using a secondary security tool.
- Use System Restore to revert to an earlier working state.
While the error message itself is vague, the core issue is typically straightforward once isolated.
Final Thoughts
The “Operation did not complete successfully” error might sound ominous, but in most cases, it’s caused by everyday Windows safeguards doing their job a little too aggressively—or by minor system inconsistencies.
By:
- Temporarily disabling antivirus software
- Repairing corrupted system files with SFC and DISM
- Adjusting permissions or using administrator access
You can resolve the issue quickly without advanced technical knowledge.
Instead of viewing this error as a serious system failure, think of it as a signal that Windows needs a small adjustment. With the fixes above, you’ll not only solve the problem—you’ll also understand why it happened, putting you in better control of your system moving forward.
And next time Windows says the operation did not complete successfully? You’ll know exactly what to do.